Optical Shaft Metrology Gages
Overview
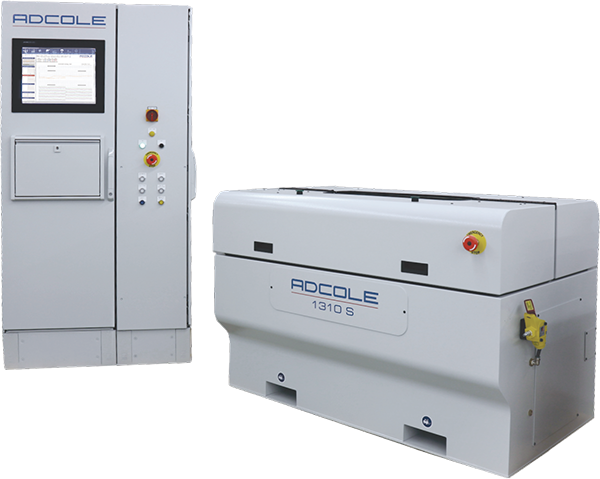
Adcole’s OptiShaft systems are high-precision optical shaft measuring gauges engineered specifically for demanding shop floor environments. Built for durability and reliability, the OptiShaft is available in three base configurations—S60, S100, and S135—corresponding to field-of-view (FOV) sizes of 60mm, 100mm, and 135mm, respectively.
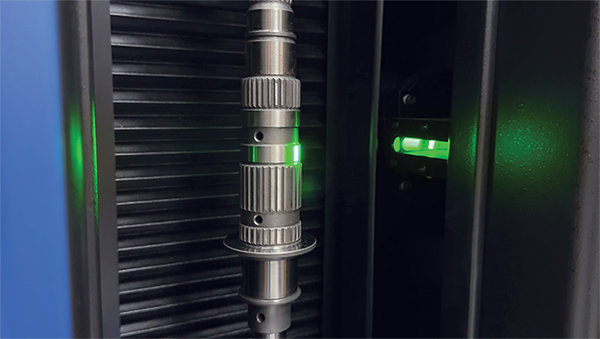
Equipped with advanced telecentric optics and collimated LED illumination, the OptiShaft minimizes distortion and delivers exceptional image clarity, enabling accurate measurement of critical dimensions. The S100 and S135 models feature a granite base for enhanced rigidity and vibration isolation, ensuring consistent performance in industrial settings. For added protection, the optical assembly retracts below the stage when not in use.
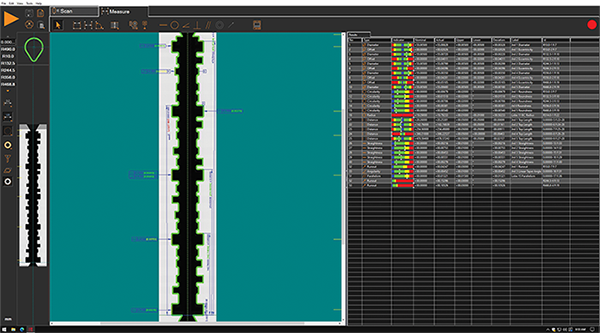
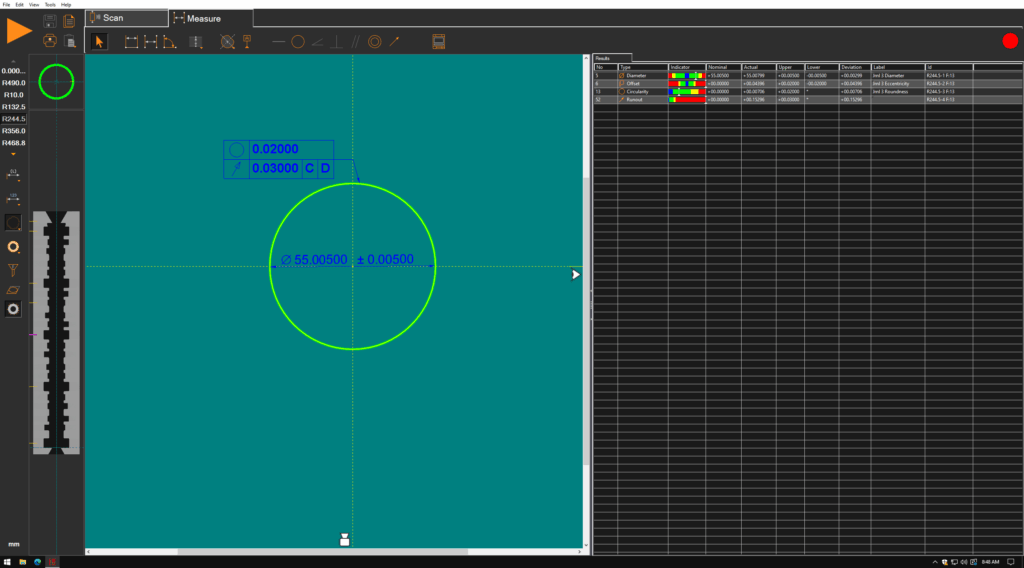
Designed for speed and precision, OptiShaft systems perform high-speed axial and rotational optical measurements on shafts up to 135mm in diameter and 1200mm in length. The intuitive software interface supports rapid operator training and streamlined programming for fast, repeatable results. Sub-pixel edge detection technology ensures high measurement accuracy, while the real-image display provides a true visual of the part and its features, rather than a simulated rendering.
Powerful image analysis software further enhances usability by simplifying feature extraction and dimensional analysis, making the OptiShaft an indispensable tool for modern manufacturing quality control.
Benefits & Capabilities
Like Adcole in-line tactile gages, the OptiShafts systems work well with robotic arm part loading. These systems also offer the ability to program using DXF CAD models and includes optional Smartprofile® software for advanced 3D analysis and GD&T. The OptiShaft has easy, one-handed tailstock operation that can be upgraded to a motorized upper tailstock to assist the operator or to automate part loading. Additional workholding kits are available for parts without centers.
- Automatic data point generation and simple feature extraction
- Exceptional image analysis software for feature extraction and measurement
- Built-in light curtain for operator safety
- User-friendly interface for easy integration into factory or audit room workflows
Your choice between a tactile or an optical gage is focused around your application and production requirements. Adcole may recommend a tactile gage for higher accuracy or an optical gage when speed and cost are of higher consideration. Our comprehensive consultation process will guide you to the best possible gaging solution for achieving your shaft metrology goals.
Specifications
| S60 / 03 | S100 / 06 | S100 / 08 | S100 / 10 | S100 / 12 | S135 / 10 | S135 / 12 | |
|---|---|---|---|---|---|---|---|
| Measurement Capacity & Machine Sizei | |||||||
| Vertical Measuring Range | 300mm | 600mm | 800mm | 1,000mm | 1,200mm | 1,000mm | 1,200mm |
| Diameter Measuring Range Max | 60mm | 100mm | 135mm | ||||
| Part Diameter Max. | 170mm | 175mm | |||||
| Part Length Max. | 300mm | 600mm | 800mm | 1,000mm | 1,200mm | 1,000mm | 1,200mm |
| Machine Sizeii | 525mm x 745mm x 975mm | 850mm x 1,055mm x 1,870mm | 850mm x 1,055mm x 2,200mm | ||||
| Rated Spindle Load | 20 kg | 80 kg | 120 kg | ||||
| System Performance | |||||||
| Vertical Spinning Speed | 100mm / sec | ||||||
| Rotational Scanning Speed | 60 RPM | ||||||
| Vertical Scale Resolution | 0.1 μm | ||||||
| Video Edge Resolution | 0.5 μm | ||||||
| Rotational Scale Resolution | 0.001º | ||||||
| Motorized Helix Angle Adjustment | ±12.5º | N/A | |||||
| Accuracyiii | |||||||
| Diameter Measurement | 1.0 + D/200 μm | 1.8 + D/100 μm | |||||
| Diameter Repeatability | 0.5 μm | 1.0 μm | |||||
| Length Measurement | 3.0 + L/200 μm | 3.0 + L/150 μm | |||||
| Length Repeatability | 1.2 μm | 2.0 μm | |||||
| Rated Environment & Facilities | |||||||
| Power Requirements | 100-120 VAC or 200-240 VAC, 50/60 Hz, 1-Phase, 650 W | ||||||
| Compressed Air Requirements | N/A | Air pressure: 0.4 MPa; Minimum Flow capacity: 175 l/min; Air quality ISO 8573-1:2010 Class 4.3.4 | |||||
| Safe Operating Environment | 15-30ºC, non-condensing | ||||||
| Rated Environment Temperature | 18-22ºC, 30-80% humidity, vibration <0.001g below 15 Hz or better | ||||||
i Between standard centers
ii Does not include optional workstation
iii Where D, L = measuring length in mm. Applier to thermally stable system in rate environment. Maximum rate of temperature change: 1ºC/hour. Maximum vertical temperature gradient: 1ºC/meter.
Applications
Measuring quality is essential for ensuring that products meet specified standards and perform reliably. These tools often include features for tracking defects, analyzing performance metrics, and generating detailed reports. By providing insights into areas for improvement, Adcole gage software helps your organization maintain the highest standards and continuously enhance your products.
Comprehensive Engineering & Technical Support
Our team of dedicated engineers is ready to help you with any needs regarding your Adcole shaft metrology gage. We offer global technical support, training, upgrades for your gage, and gage recertification. Contact us today to schedule your service with one of our field service engineers.
